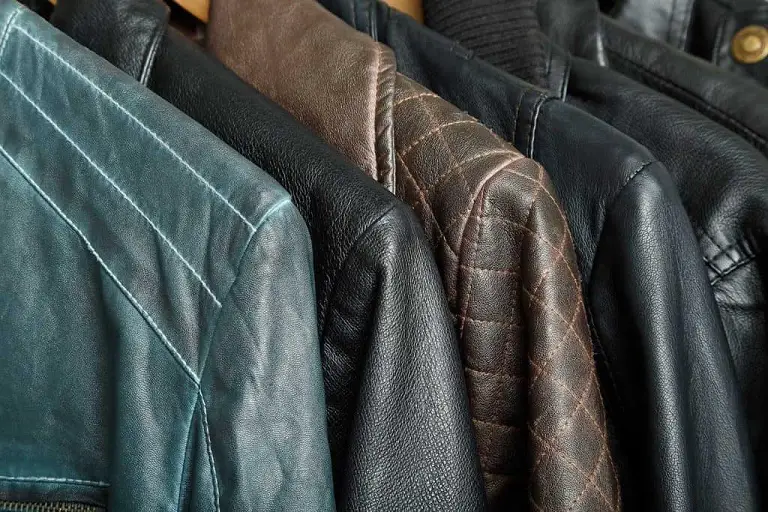
Fixing a peeling leather jacket can be challenging but not impossible. Especially, when you have landed on our web page, there is nothing to worry about this!
The peeling might be a recent issue or an old one. Whatever it is, we have several solutions for you. These are the most user-friendly approaches. Are you ready to grab them in detail?

Alright, then it’s time to move on! Let us start with clearing up the confusion.
Does Real Leather Peel?
Often, we become too confident about our real leather jackets. We think they are genuine, and nothing can crack or peel at all! But the fact is- no matter whether we use real leather or faux leather, peeling or cracking is unavoidable. The seal or finishing coat on top of the genuine leather compels it to flake or peel.
A real one can indeed serve you longer than a faux version. However, it cannot skip losing its beauty over time! Nonetheless, if you care for and condition your real leather properly, it can survive more than a decade!
How to Fix Leather Jacket Peeling?
There are some fantastic products that we are going to recommend. No matter whether your leather is artificial or natural, these will brilliantly fix your peeling issues by hiding its aging. You will find them easy to apply too! And the products are as follows!
Method 1:Permanent Marker
You may prioritize the permanent marker method. It will hide the spot tremendously as if there were no aging issues! It would be best to start with sandpaper. At the same time, remove any excess flaking before applying anything to your jacket.
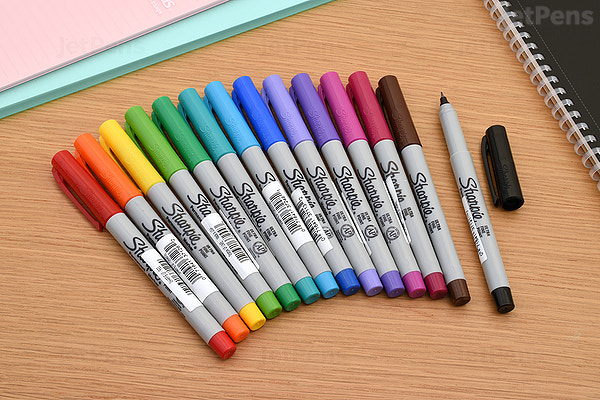
Has your leather been smooth? Okay, use a matching colored marker. It will help shade in any peeling or flaking portion. Along with that, mix shoe polish with your marker. It will provide you with a better-looking outcome. And you had better use alcohol-based, non-toxic, fast-drying markers.
Method 2: Oil Fillers
Do you want a first-class result in repairing your leather jacket peeling? Then you may embrace oil fillers. The tactic is simple.
First, pick out the peeling pieces from the affected surface by using a razor blade. Then have a knife. Use it to place oil fillers on a clean surface.
It would help best if you apply 1 inch of oil filler to make the peel surface even. Aside from that, let not the oil fillers be placed on the other parts. As a result, you will get a vinyl-like surface as oil fillers will make the bond with jacket material over time.
Method 3: Leather Paint
Here we go for another brilliant way to fix leather jacket peeling. You can use leather paint. How to apply this? Well, please follow the steps below! These are very easy.
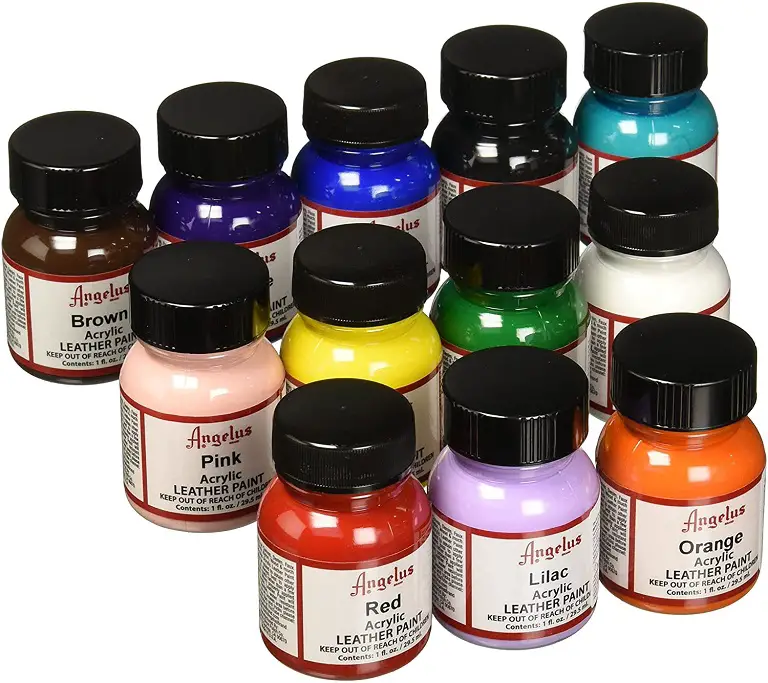
- Take off any extra flakes from the leather jacket at first.
- Now have a soft brush to apply leather paint.
- Then let it dry for an hour.
That’s it! One more thing, you will find this method most workable on darker leather jackets instead of lighter ones.
Method 4: Clear Nail Polish
You can give your leather jacket a new look with clear nail polish. You don’t need anything else. However, before you paint and stick your leather item with a semi-gloss polish, don’t forget to sand off any extra flakes.
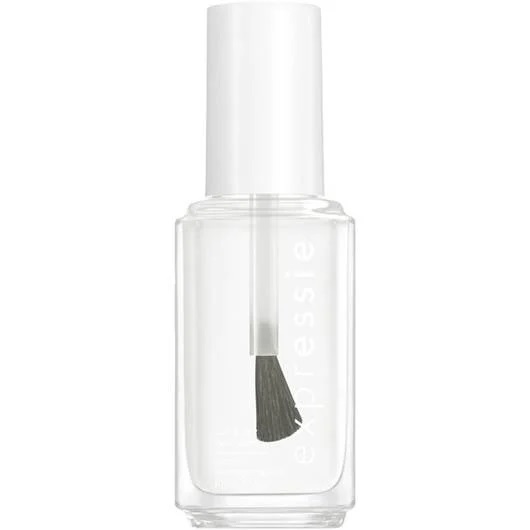
The nail polish method will provide your jacket with a more rustic look!
Method 5: Leather Conditioners
A leather conditioner is an excellent tool to resolve peeling issues. You will get available around you. Earlier, many leather jacket companies used to provide ready-to-use conditioners to tackle this problem.
It not only solves the cracking and peeling issue. Likewise, it protects your leather item from harmful sun rays. The rays can fuel the damage to your favorite stuff.
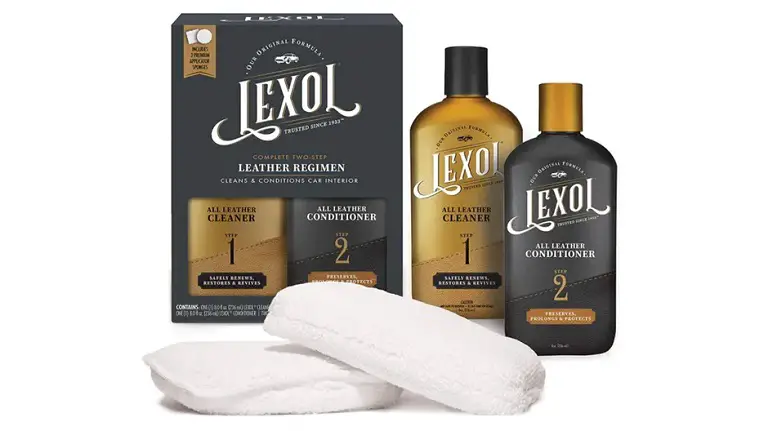
Particularly, conditioning the genuine leather needs to be more careful.
It will be wise to know how often one should condition genuine or real leather. Experts recommend conditioning a genuine leather jacket every six months.
However, it depends. If you are accustomed to using your real jacket weekly and exposing it to the natural elements, then the timeframe is ideal for you. The biggest factors for aging or peeling are sun and water. That’s the reason, experts also suggest applying a leather-formulated conditioner. Just refrain from getting it too wet!
Method 6: Shoe Polish
Believe it or not, tinted shoe polish can be your savior! And this is more efficient on genuine leather. All you need to do is- use a damp rag and apply it in circular motions. Rub the polish gently.
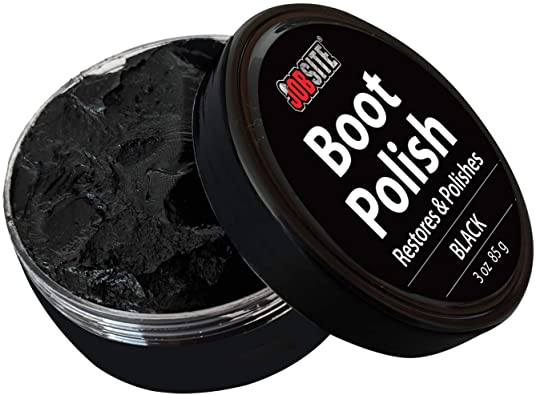
And please, skip using any polish with harsh chemicals.
Causes of Leather Jacket Peeling
Learning to fix peeling is good but being aware of the causes is better. When you know the reasons for peeling or cracking, you can take preventative measures. Here in this section, we will discuss the most common causes of leather jacket peeling.
1. Exposure To Heat
It is one of the most common causes of peeling, especially, if you wear faux leather. Such a leather jacket is prone to heat. It comprises synthetic substances, and that’s why it is more vulnerable!
However, you can be better confident if you wear a real leather jacket. It can endure heat up to about 305°F. So your residing area should matter to your purchase. On the contrary, faux leather is always heat-sensitive. So be sure that it will peel over time.
2. Less Durable Material
The faux jacket comprises synthetic materials. Synthetic leather also means fake leather. Else, faux leather is familiar as ”pleather” too. Such leather features fabric plus a polyurethane coating and does not serve long. So the chances of peeling are very high.
On the contrary, real animal-made leather sustains in the long run. Except for some acute circumstances, it will not tear.
3. Exposure to Too Much Water
When your leather gets too much exposure to water, it loses its essential oils. And it makes your leather flexible. So if you have a real leather jacket, you will have to pay.
Interestingly, a faux leather jacket will fight better with water. So in this respect, you will find it more reliable. Nonetheless, your faux leather jacket is sure to suffer the long-term negative impact of water. So it would help best if you prefer water-resistant faux leather. It will help minimize bad effects.
Many of the faux leathers are vinyl-made and waterproof thereby. You may get excited to see them, but please note that the seams, linings, paddings, or fabric attached underneath the vinyl may lack that quality. Therefore the seams, linings, and paddings will peel off the vinyl topcoat if they come closer to water.
Apart from these, some faux leather makers apply additives like calcium carbonate in their items. These are also prone to water and make your leather jacket vulnerable. So it would help if you keep your faux leather item away from rainwater and the washing machine.
4. Aging Issue
Now, we will talk about an unavoidable issue, and it is nothing but aging. You can’t skip this. Over time, your leather jacket is bound to outlive its lifespan.
Such a product deserves a revival. Conversely, you will have to leave it if it is beyond any repair.
Remember, its lifetime not only depends on its material, and the number of users but also on the care and maintenance you contributed to it.
5. Frequent Use
A leather jacket stretches out when we wear it. And we love embracing our favorite item, don’t we? So the more you wear, the more it will be so. And the stretching will result in peeling, cracking, and flaking on the jacket!
Again, it happens with faux leather mostly. Maximum people wear this since it is pretty affordable. And as social beings, they love to engage people randomly. It causes their leather jackets to crack and peel.
6. Lack of Proper Care and Maintenance
Yes, this will lead to unwanted, quick peeling. Everything is in need of care, no matter if it is a thing or a human being. Please never think that a leather jacket can last for long by itself. Rather, you will have to maintain it. Only this way you can help it sustain itself in the long run.
No worries, a leather jacket requires merely a little care. Specifically, your faux leather will need less maintenance than real leather.
Frequently Asked Questions and Answers
Question: Is there glue for leather?
Answer: It would help best if you use water-based leather glue with low V.O.C. like Tandy Leather Eco-Flo Leather Weld adhesive.
Question: Does full-grain leather peel?
Answer: Yes, full-grain leather may also peel. Over time, the protected layer or applied color may peel off though it seems to be a smear.
Question: What paint can I use on a leather jacket?
Answer: To paint a leather jacket, you should prioritize acrylic paint to secure the best result. And please avoid watercolor, oil-based paints as they tend to run over the surface. You will get it in various colors, most probably adjacent to your door!
Question: How do you treat fake leather?
Answer: Have some warm water in your sink and mix it with a liquid dish detergent. Then rub your leather stuff with a soft bristle brush. Afterward, get some cold water for rinsing. Then hang it to dry.
Question: How do you refurbish an old leather jacket?
Answer: You need to apply a neutral-colored, wax-based leather preservative to refurbish your old leather jacket. It will get the leather jacket’s shine back and not look faded since the leather absorbs the preservative.
Question: Why has my leather jacket started peeling?
Answer: We have mentioned the most common causes above in the article. Apart from those, the use of the wrong product can cause the leather to peel off seriously. It will be wise to avoid products that contain solvents and chemicals.
Question: Do real leather jackets peel?
Answer: Real or authentic leather derives from animal hide. Generally, it lasts for a long. However, if it is of poor quality or lacks proper care, it will start peeling.
Question: Is Gorilla Glue good for leather?
Answer: The Gorilla Micro Precise Super Glue is an excellent glue to apply on leather. It takes only 10 to 45 seconds to dry. Experts regard this as an ideal thing for small repairs.
Question: How much does it cost to fix a leather jacket?
Answer: The cost of fixing a leather jacket takes around $40 to $60.
Question: How do you rehydrate leather?
Answer: Rehydrating aims at softening leather items. There are a few products that can efficiently rehydrate the leather. These are- coconut oil, mink oil, conditioner, alcohol + vaseline.
To Sum Up
Now you know the exclusive techniques to fix leather jacket peeling. Apart from that, we have discussed the steps that will help fix a peeling leather steering wheel and sew a patch on a leather jacket. These are also common issues with us, aren’t they?
Hopefully, this post has been very helpful to you.
Stay good, and stay safe!
Leave a Reply