Yarns generally come as a bundle where the threads are just piled together. But using it straight away will constantly tangle them up making your work much harder. What you have to do is make a ball out of it so the thread keeps unwrapping itself smoothly. You can just do it by hand or use a winder for it.
How Do I Get a Yarn Ball without Winder
Transforming your hank of yarn into a workable form is as important as knitting or crocheting. It keeps the thread from twisting and getting tangled up with each other. Now let’s take a look at some techniques about how you can make a ball of yarn. You can also learn here the proper way of storing yarn.
(A) Pen Or Hook Method
The pen or hook method is where you make a yarn ball by wrapping it around a pen or a hook.
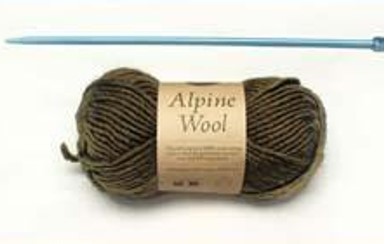
Step 1: Collect Supplies
First of all, take a pen or a spare crocheting hook where you can wrap the yarn. It doesn’t necessarily have to be a pen or a hook. You can use any similar object like a chopstick or stick. But make sure the surface is smooth so you can slip off the ball later easily.
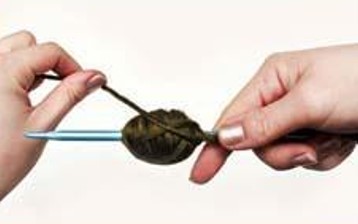
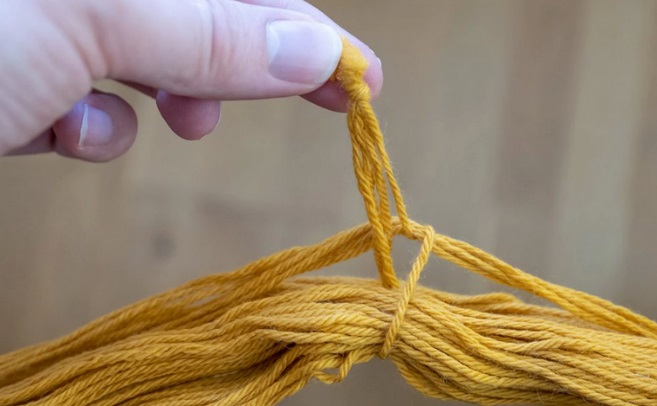
Step 2: Slip Knot
Take one end of the yarn and make a slip knot. Now tighten the slip knot around the hook. It’s better to pull the knot to one side so it’s easier to wrap without it getting in the way.
Step 3: Preparing Thread
Now pull the thread to the other end of the hook and hold it there in place with your thumb.

Step 4: Wrapping Yarn
Take the thread and wrap it around the part that’s pressed down with your thumb. Wrap a few times before removing your thumb so it’s secured.
Step 5: Rotating
Continue wrapping after moving your thumb. Make some route changes by rotating the tread by a few degrees. It helps to form the ball shape.
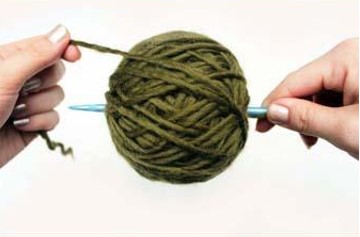
Step 6: Continue Wrapping
Keep doing it over and over again until the whole hank is wrapped around the hook
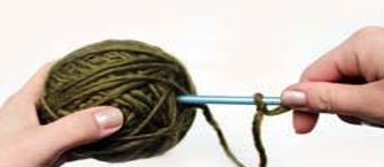
Step 7: Remove The Hook
Now gently pull the hook out of the ball. Hold onto the slip knot so it’s not stuck inside the ball.
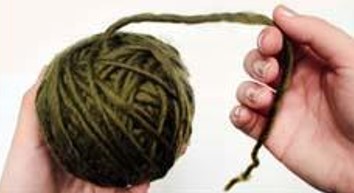
Step 8: Finish Off
And you are done. The slip knot will be the start of the yarn when you use it.
(B) Way 1: How Do You Make A Yarn Ball By Hand
You don’t always need any specific tool for making a ball of yarn. Instead, you can just use your hand to make a yarn ball in a few easy steps.
Step 1: Prepare The Yarn
Untwist the hank of yarn and loop it over a chair so that they don’t get messy and unorganized while making the ball. You can also drape it over the edge of a desk or your knees instead of chairs.

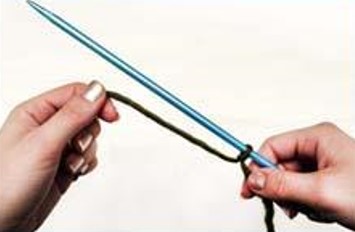
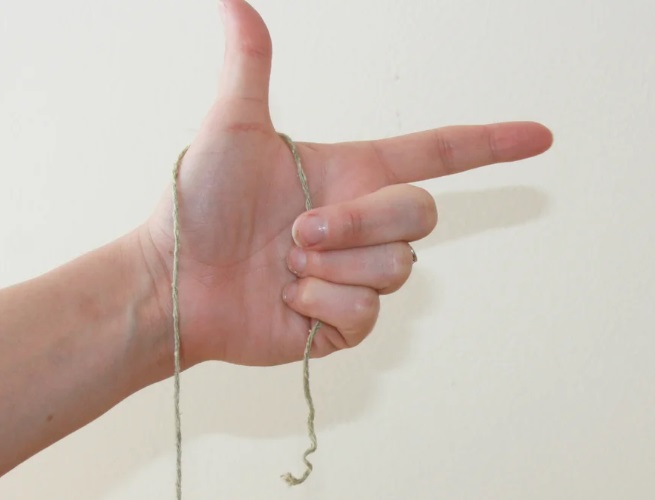
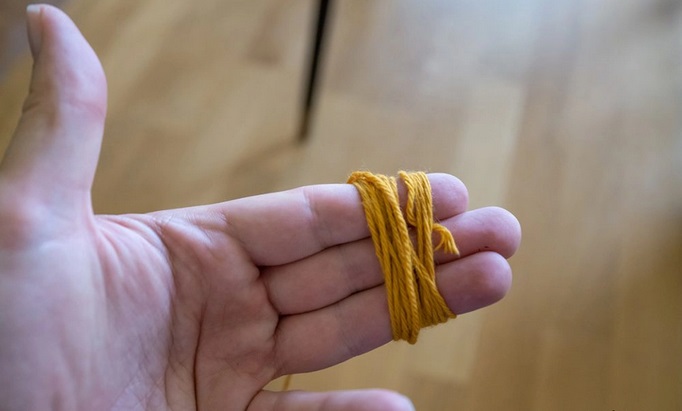
Step 2: Position Hand
Now position your hand so that your thumb and index finger are straight. Loop one free end of the yarn around your thumb. Then press the shorter side of the thread to your palm with the pinkie, ring, and middle finger.
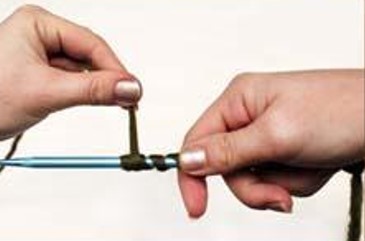
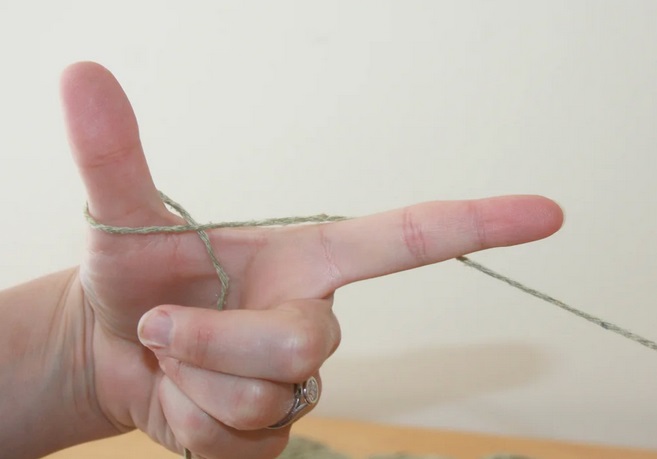
Step 3: Start Wrapping
Take the longer side and pull it around your thumb to your index finger. Wrap it around the index finger then come back to your thumb again. And then index finger again.
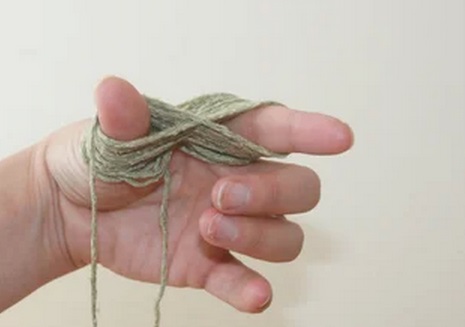
Step 4: Make A Bunch
Keep repeating this until there is a small pile wrapped around the finger.
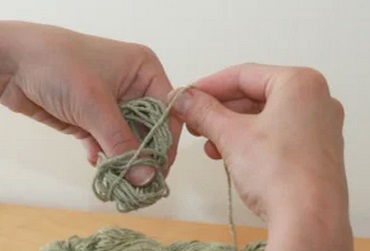
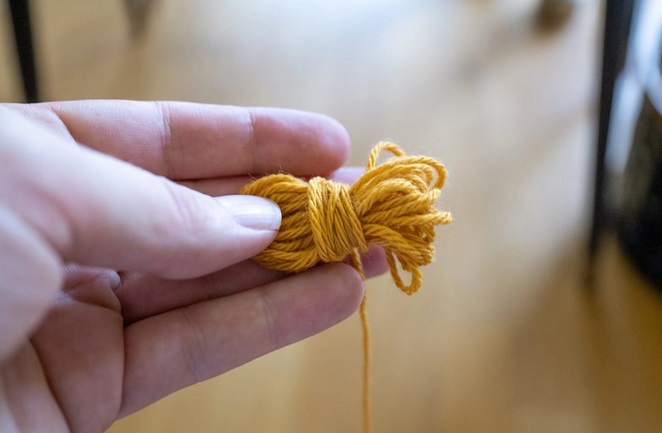
Step 5: Remove The Bunch
Now grab onto the middle of the yarn that’s in between the thumb and the index finger with your other hand. And, gently pull it off your fingers.
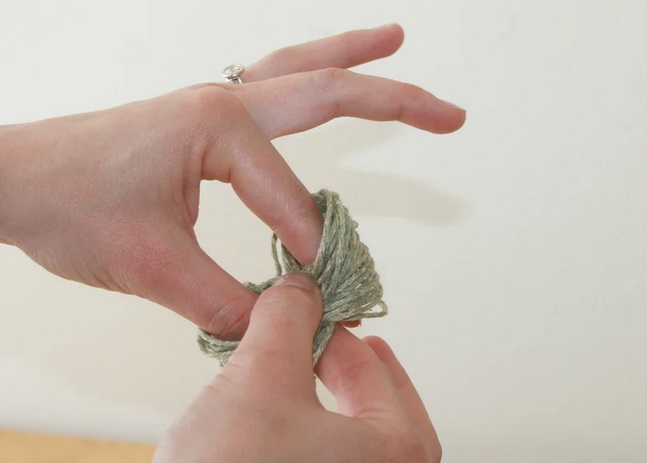
Make sure that the starting end of the thread is hanging out freely.

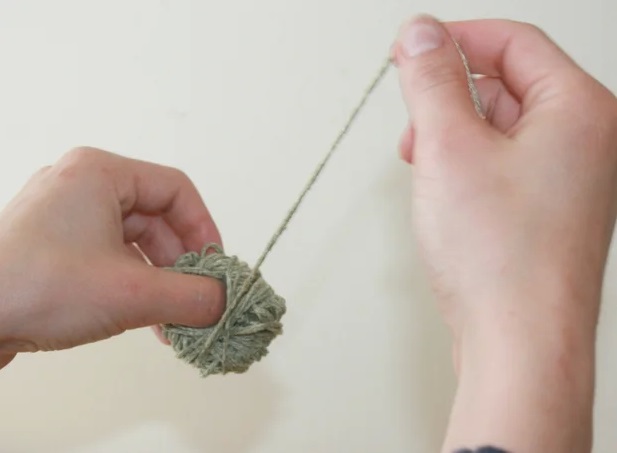
Step 6: Continue Wrapping
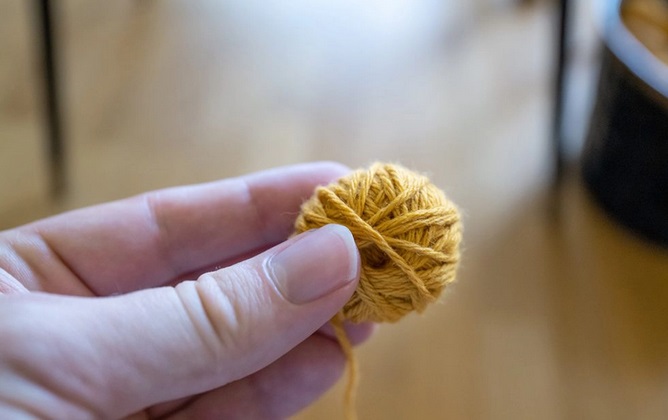
Now start wrapping the rest of the yarn around this bunch while still pinching the middle part.
Step 7: Crisscrossing
Try to form the shape of a ball by crisscrossing as you wrap.
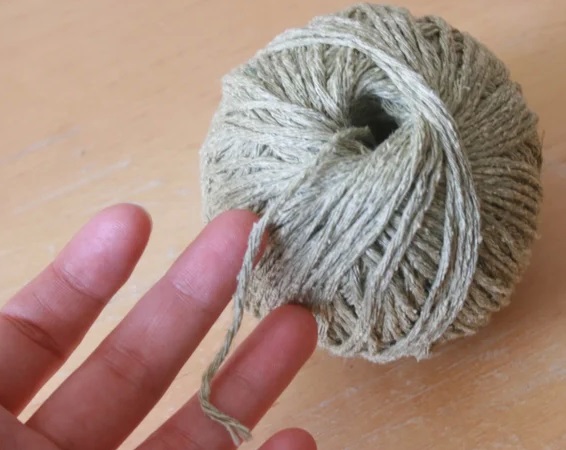
Step 8: Finish Off
Finally, keep wrapping until the whole hank is finished and it’s shaped like a ball. Tuck the end of the thread inside so it doesn’t come off. Now you can start knitting by starting with the part that’s hanging out of the middle of the ball.
Way 2: How To Wind Yarn With Hand
A ball winder is surely a very helpful tool to wind yarn. But unless you are a professional or very dedicated to yarning, buying a ball winder seems unnecessary. After all, you can do it without a ball winder as well.
Step 1: Prepare And Start
Untwist the hank and drape it over a chair or your knee. Take one end and wrap it a few times around your fingers.
Step 2: Remove And Continue
Remove the loop from the finger and start wrapping again around the middle part of the bunch.
Step 3: Change Direction
Continue Wrapping for a while then change direction. It’s better to move the tread a little bit after every few turns to keep the shape nice and even. Repeat this action until it’s taken the shape of a ball.
How To Make a Yarn Ball Using A Winder
A ball winder is a tool that’s used for winding up yarn balls. It is considered the fastest and easiest way of making a yarn ball.
Step 1: Preparing Yarn
Take the hank of yarn that you’ll make the ball with. Generally, they come in a twisted shape. There is a little loop at one end of the hank. Pushing it in gently will untwist the hank and turn it into a big loop of yarn pile.
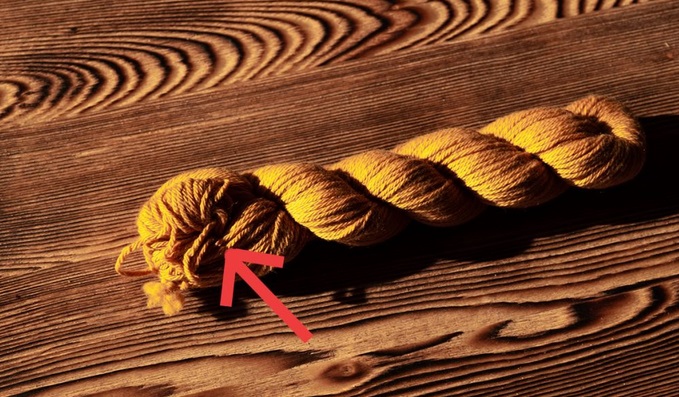
Step 2: Identify The Knots
Now if you pay attention, there should be two or four knots holding the yarns together.
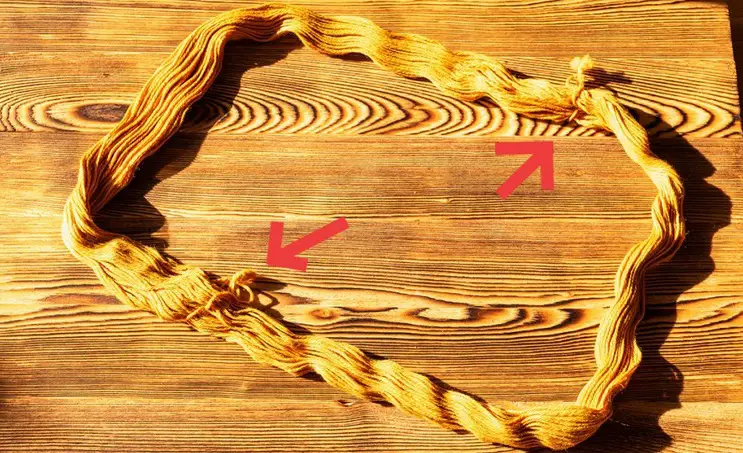
Step 3: Cut The Knot
One of the knots is a simple knot that’s used to prevent the yarn from getting tangled. Untie it or just cut it away. But be careful not to cut the main yarn by accident. There’s another knot as well that ties the start and end of the main yarn. You need to cut it as well to start working.
Step 4: Set-Up
Now set up the loop of yarn around the swift. Adjust the tension accordingly so it’s tightly wrapped around the swift and doesn’t fall off.
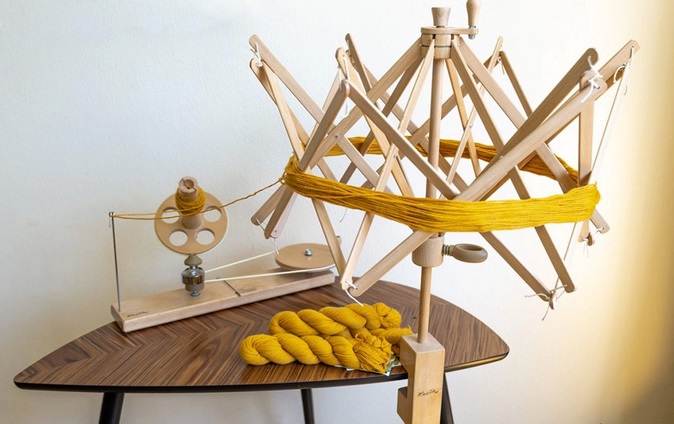
Step 5: Start Winding
Take one end of the yarn pile that you cut before and pass it into the central tube of the winder. And, start winding!
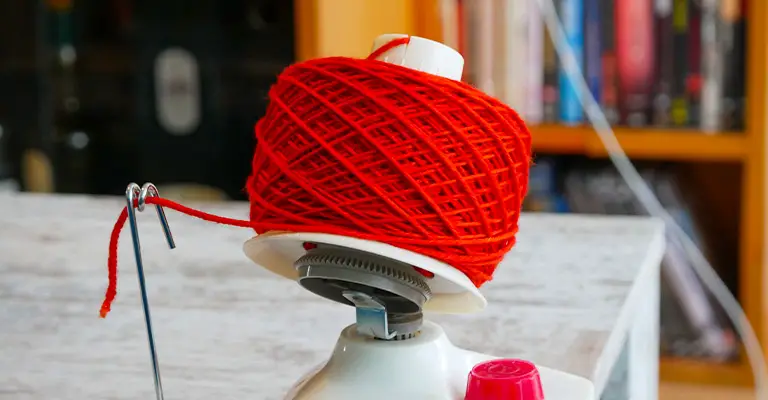
Bonus: Center Pull Yarn Ball Winder
A center-pull ball winder is the fastest way of winding a center-pull yarn ball. It’s got 3 main parts -the feeder, the central tube, and the handle. Besides, it has a platform that can be mounted on any surface like a desk or countertop so that it doesn’t move while winding.
The beginning of the thread is fed through the feeder and pulled through the slits on the tube. Then, all you have to do is rotate the handle and it will wind the ball itself. After the whole ball is completed remove it from the tube so that the starting part is sticking out.
Conclusion
Rolling the piles of yarn into a ball can potentially save you the extra time and effort that go behind untangling a twisted part of the thread. Now, it may seem like time-consuming work to do. But with some single tips and techniques, you can easily do it. And you don’t always need a winder for winding up a yarn ball.
Leave a Reply